Minolta AL-E Rangefinder
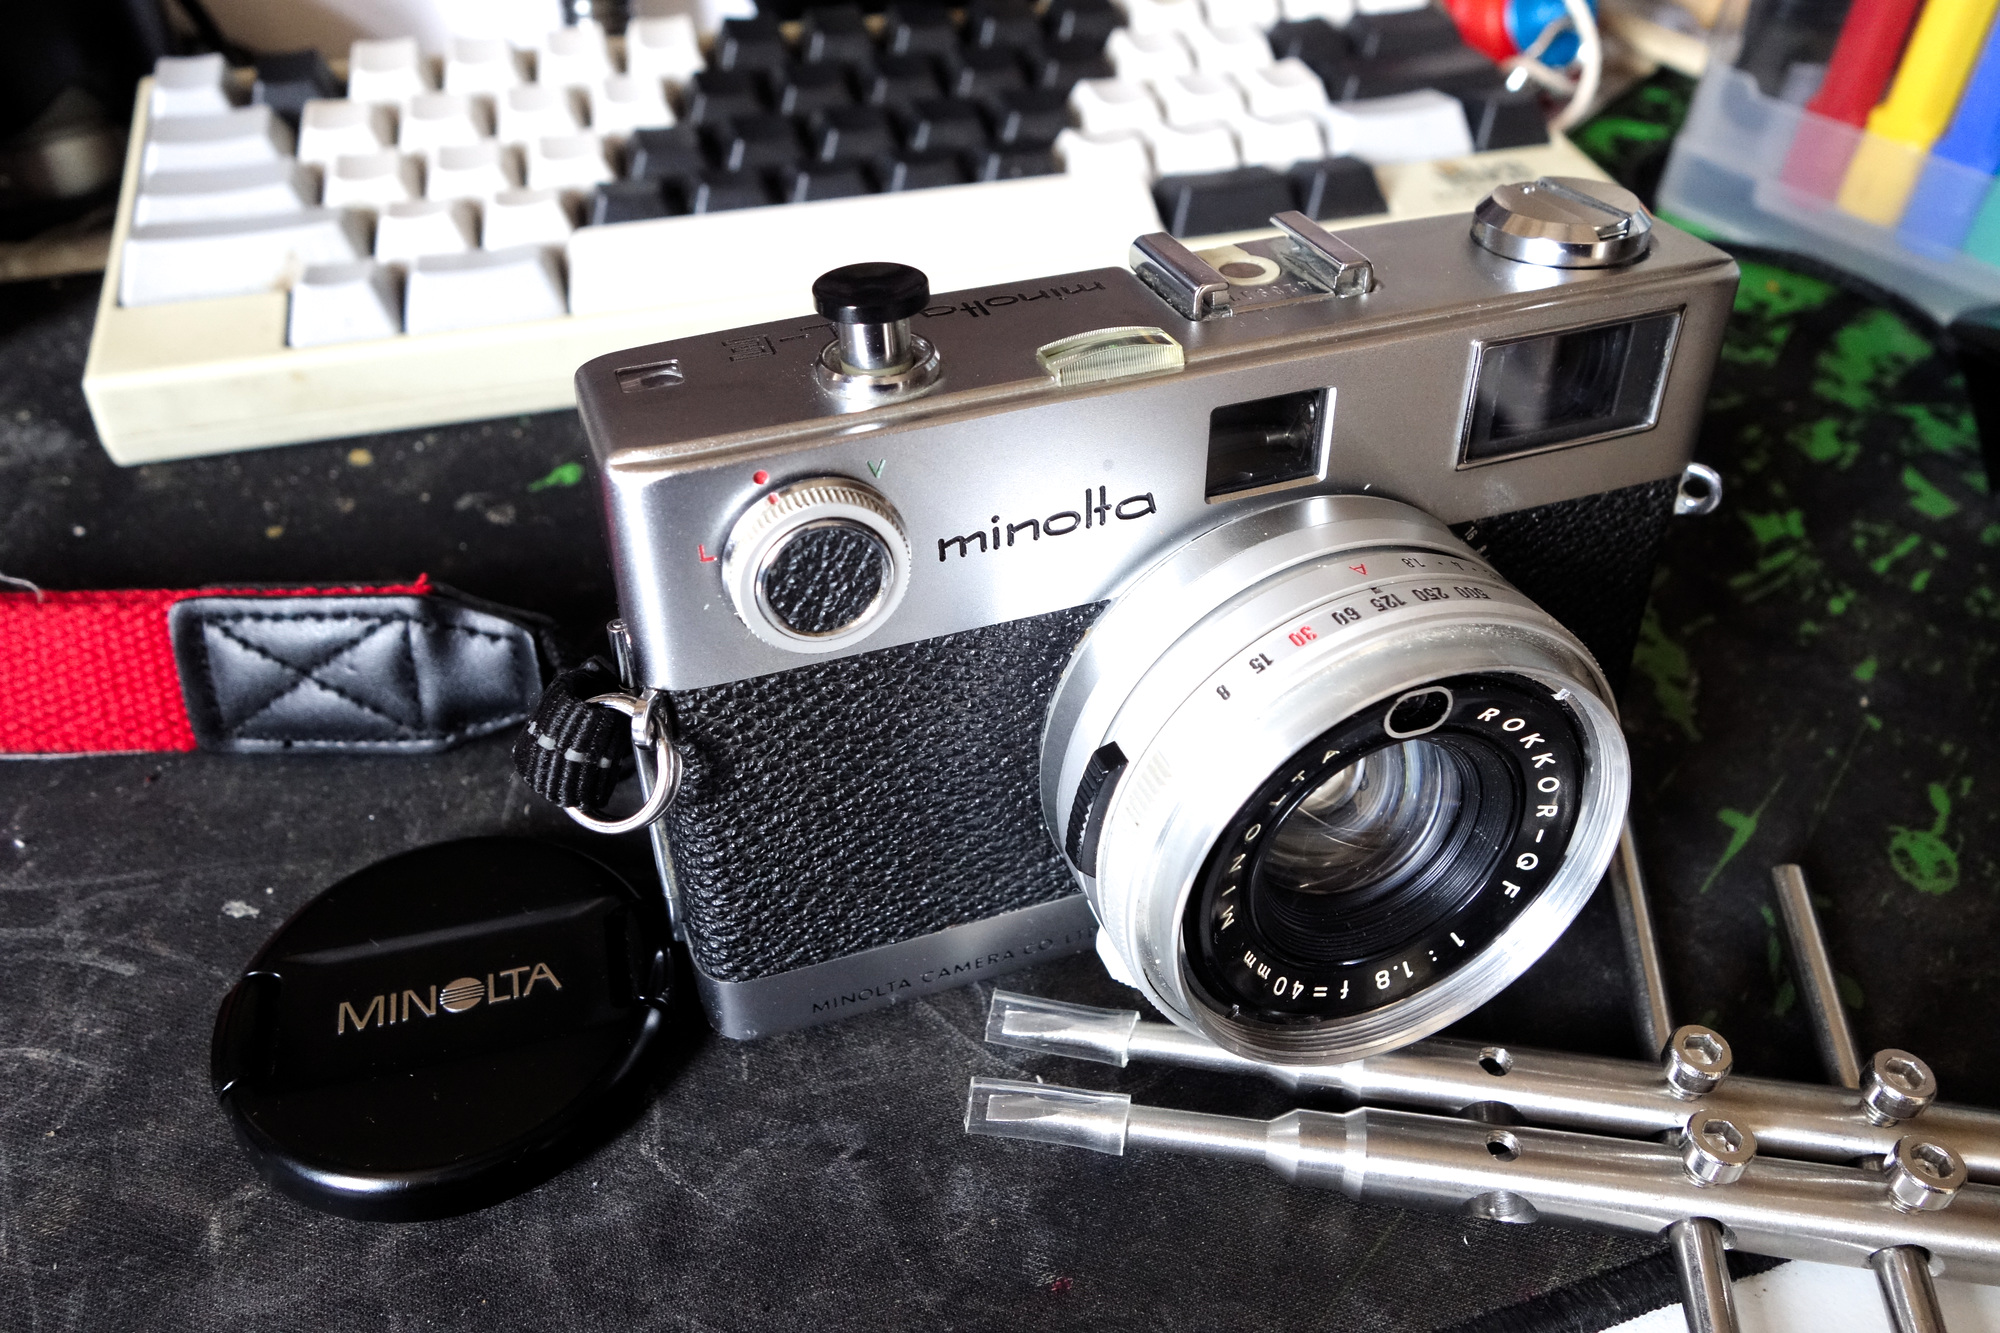
I wanted a shutter-priority rangefinder that didn’t have the ugly shutter button on the Canonet and found this on Yahoo Auctions. Looks sharp, Minolta lens, good price so I went for it.
Mechanism/Operation

As far as I know previous models in this series (Minoltina S) had a directly controlled aperture - turn the dial to move the blades. There’s no simple way to couple that to the meter so this camera has a rather roundabout mechanism. The aperture starts out closed and pushing the shutter button opens it. Once it hits a stop, controlled by either the meter or the aperture ring, the linkage slips and the blades stop moving. Somewhere past the end of the full open point the shutter trips.
This mostly works but it’s controlled by springs and friction. If the aperture blades get too sticky they can provide enough resistance to overcome the shutter mechanism, stopping the aperture short of the target setting. This also affects the shutter lockout. Normally the shutter will lock out if the sensor isn’t getting enough light at full open, but pressing the shutter too fast will let it take the shot anyway. The shutter button is fairly stiff as it needs to push the aperture open before tripping the shutter.
This mechanism is also the reason for the ‘V’ setting on the lock dial. The movement of the aperture iris is directly linked to the shutter button so releasing it lets it close back up to f/16. The V setting locks the shutter button down so the aperture holds its setting while timer runs down and the shutter fires. Taking the dial off V releases the shutter button.
Modifications
I didn’t want to deal with annoying batteries so I adjusted the meter to be roughly right on a SR44. Probably wrong at the ends of the scale but it’s film, close enough.
The contrast on the finder was pretty bad so I found some blue filter stock and put two layers in front of the main viewfinder. Not as contrasty as a Yashica Electro but a huge improvement.
To compensate for the (still) slightly sticky shutter I pushed the shutter actuation point a bit deeper into the shutter button’s travel.
I haven’t done this yet but the self timer is a nuisance and catches on things. It should be possible to strip it out of the shutter without affecting anything else.
Rebuild stuff
Being a camera from the 60s the aperture blades on my unit were getting a little sticky. The seller marked this as a sticky shutter but the shutter itself seemed to be fine. Dripping lighter fluid all over both sets of blades didn’t help anything.
The mode dial needs to come off before the top casing. The leatherette button on the front should unscrew with a bit of pressure, allowing the dial to fall off. After the mode dial comes off the top panel should slip off.
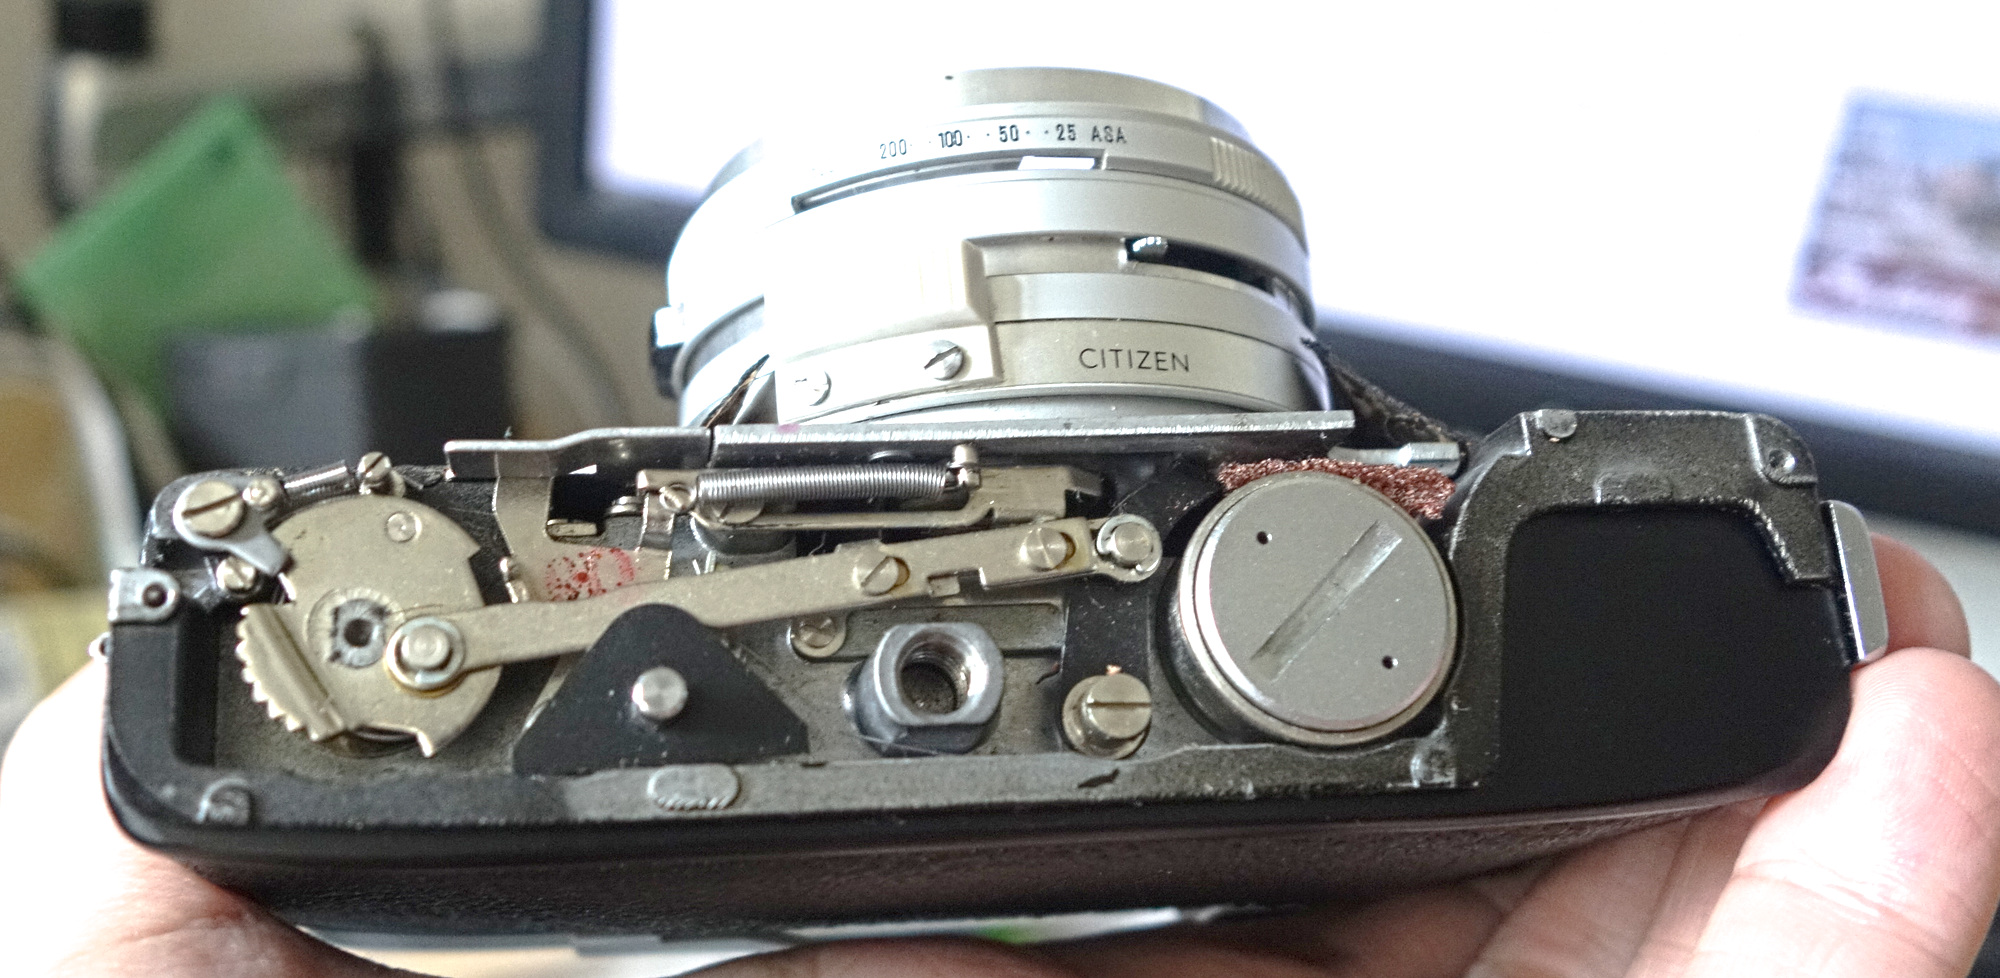
The bottom panel is held in with a pair of screws. The battery cover can be left on if you want.
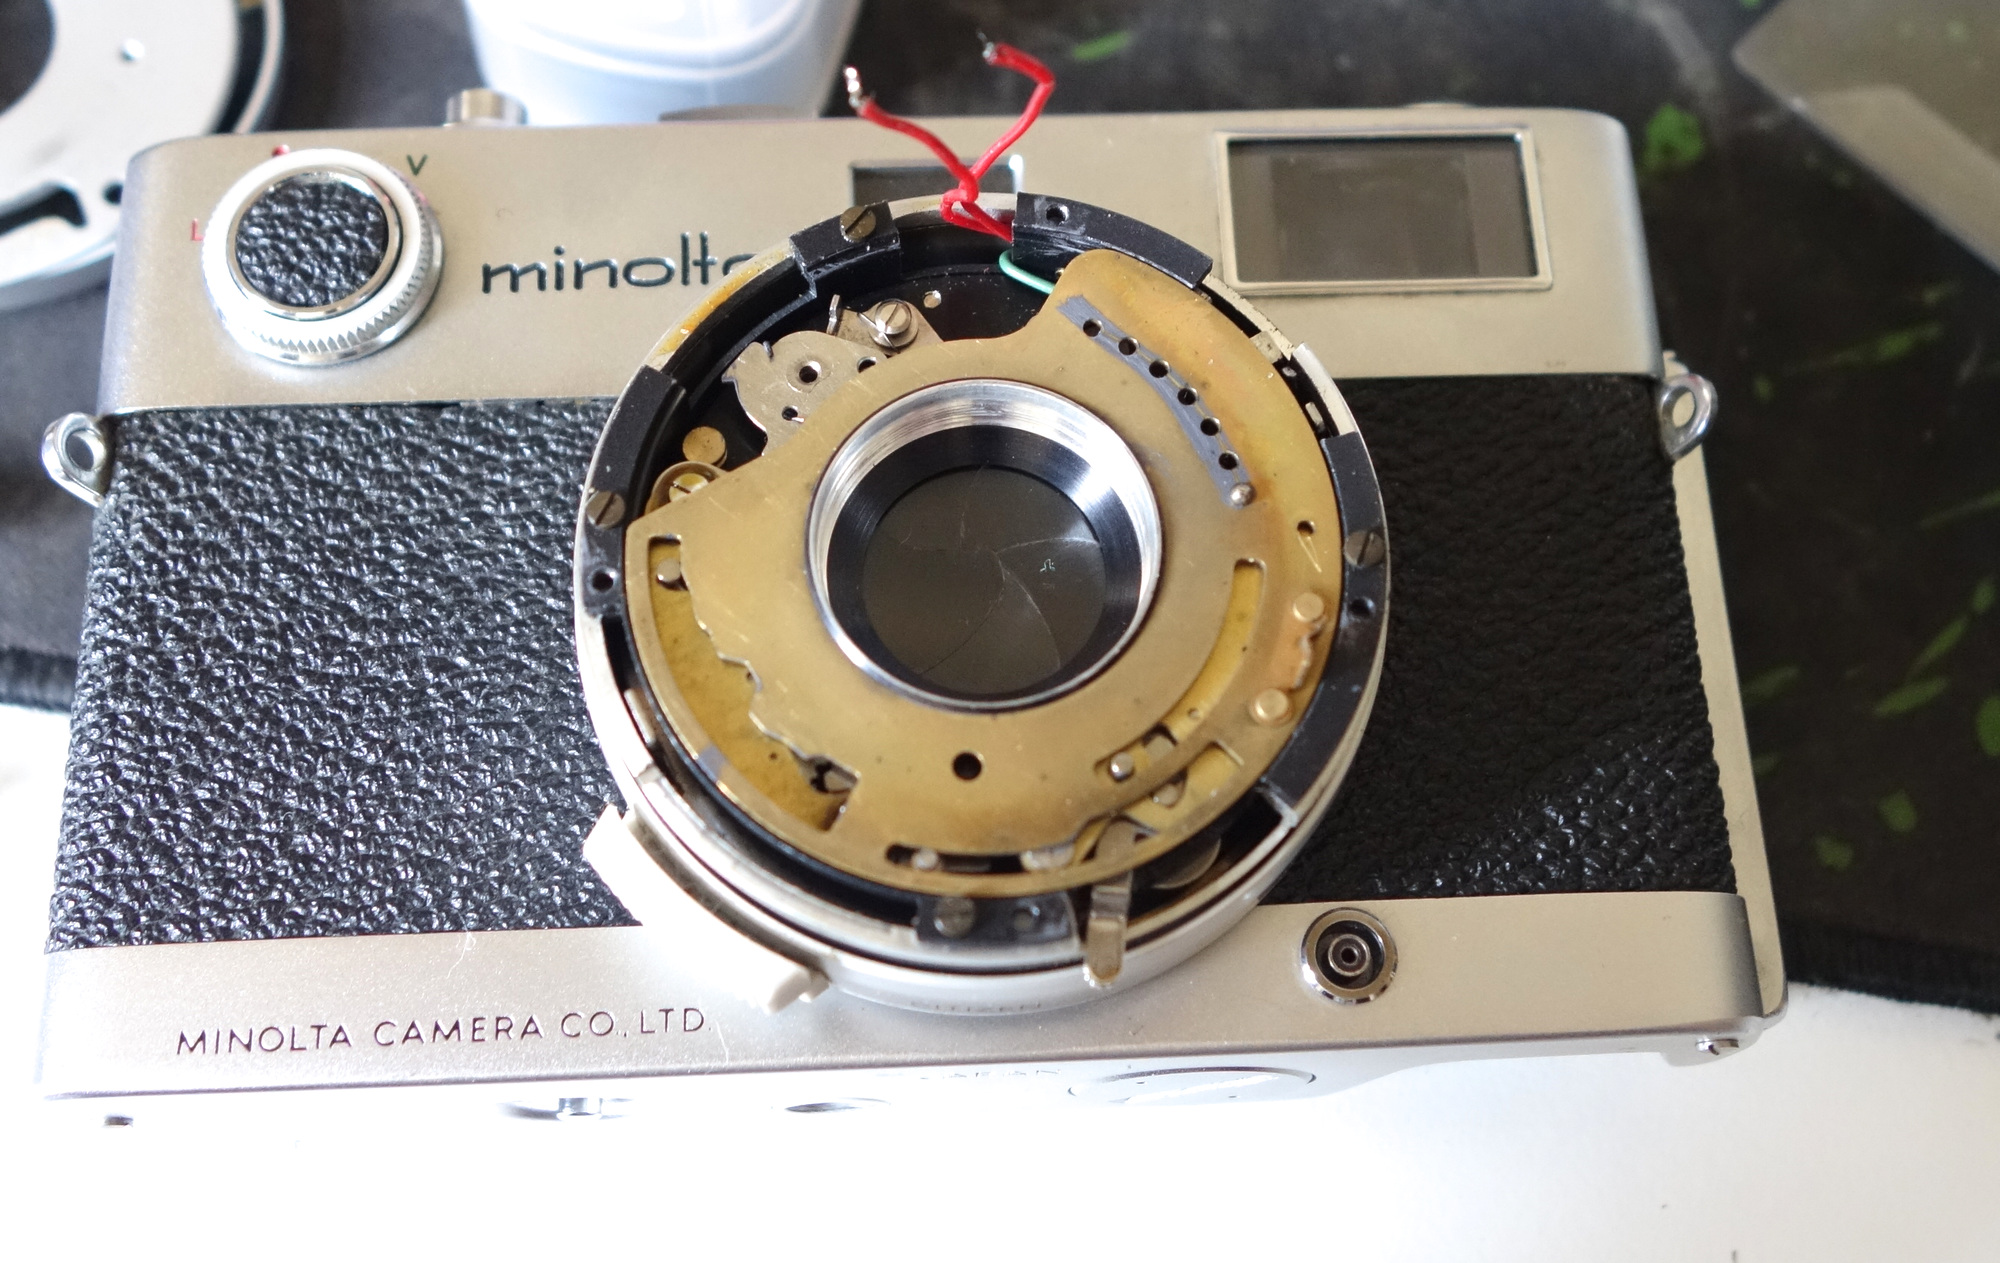
I have a suspicion it’s possible to get the lens unit off without disassembling it from the front but I couldn’t get it to work. So, the lens unit. Take off the outer securing ring with a pin spanner like any other lens. The black plate can be carefully lifted off the photocell. Everything down to the shutter comes apart with obvious screws.
Don’t lose the ball bearing holding the shutter speed adjustment! There’s no reason to go any deeper than the shutter here. If you’re going deeper into the camera it’ll be much easier to desolder the photocell now.
The lens unit is held on by screws under the leatherette. Start on the left side and remove the entire left side panel - you’ll need access to the mechanism underneath. The lens unit should jiggle out after that.

There’s a grub screw holding the black baffle on; remove it. Use a pin wrench to remove the lens elements. Underneath it is another brass ring holding the back of the lens together. Everything in here was very stiff on my camera. Pulling that out should allow the lens mount to separate from the adjustment rings, shutter and aperture mechanisms.
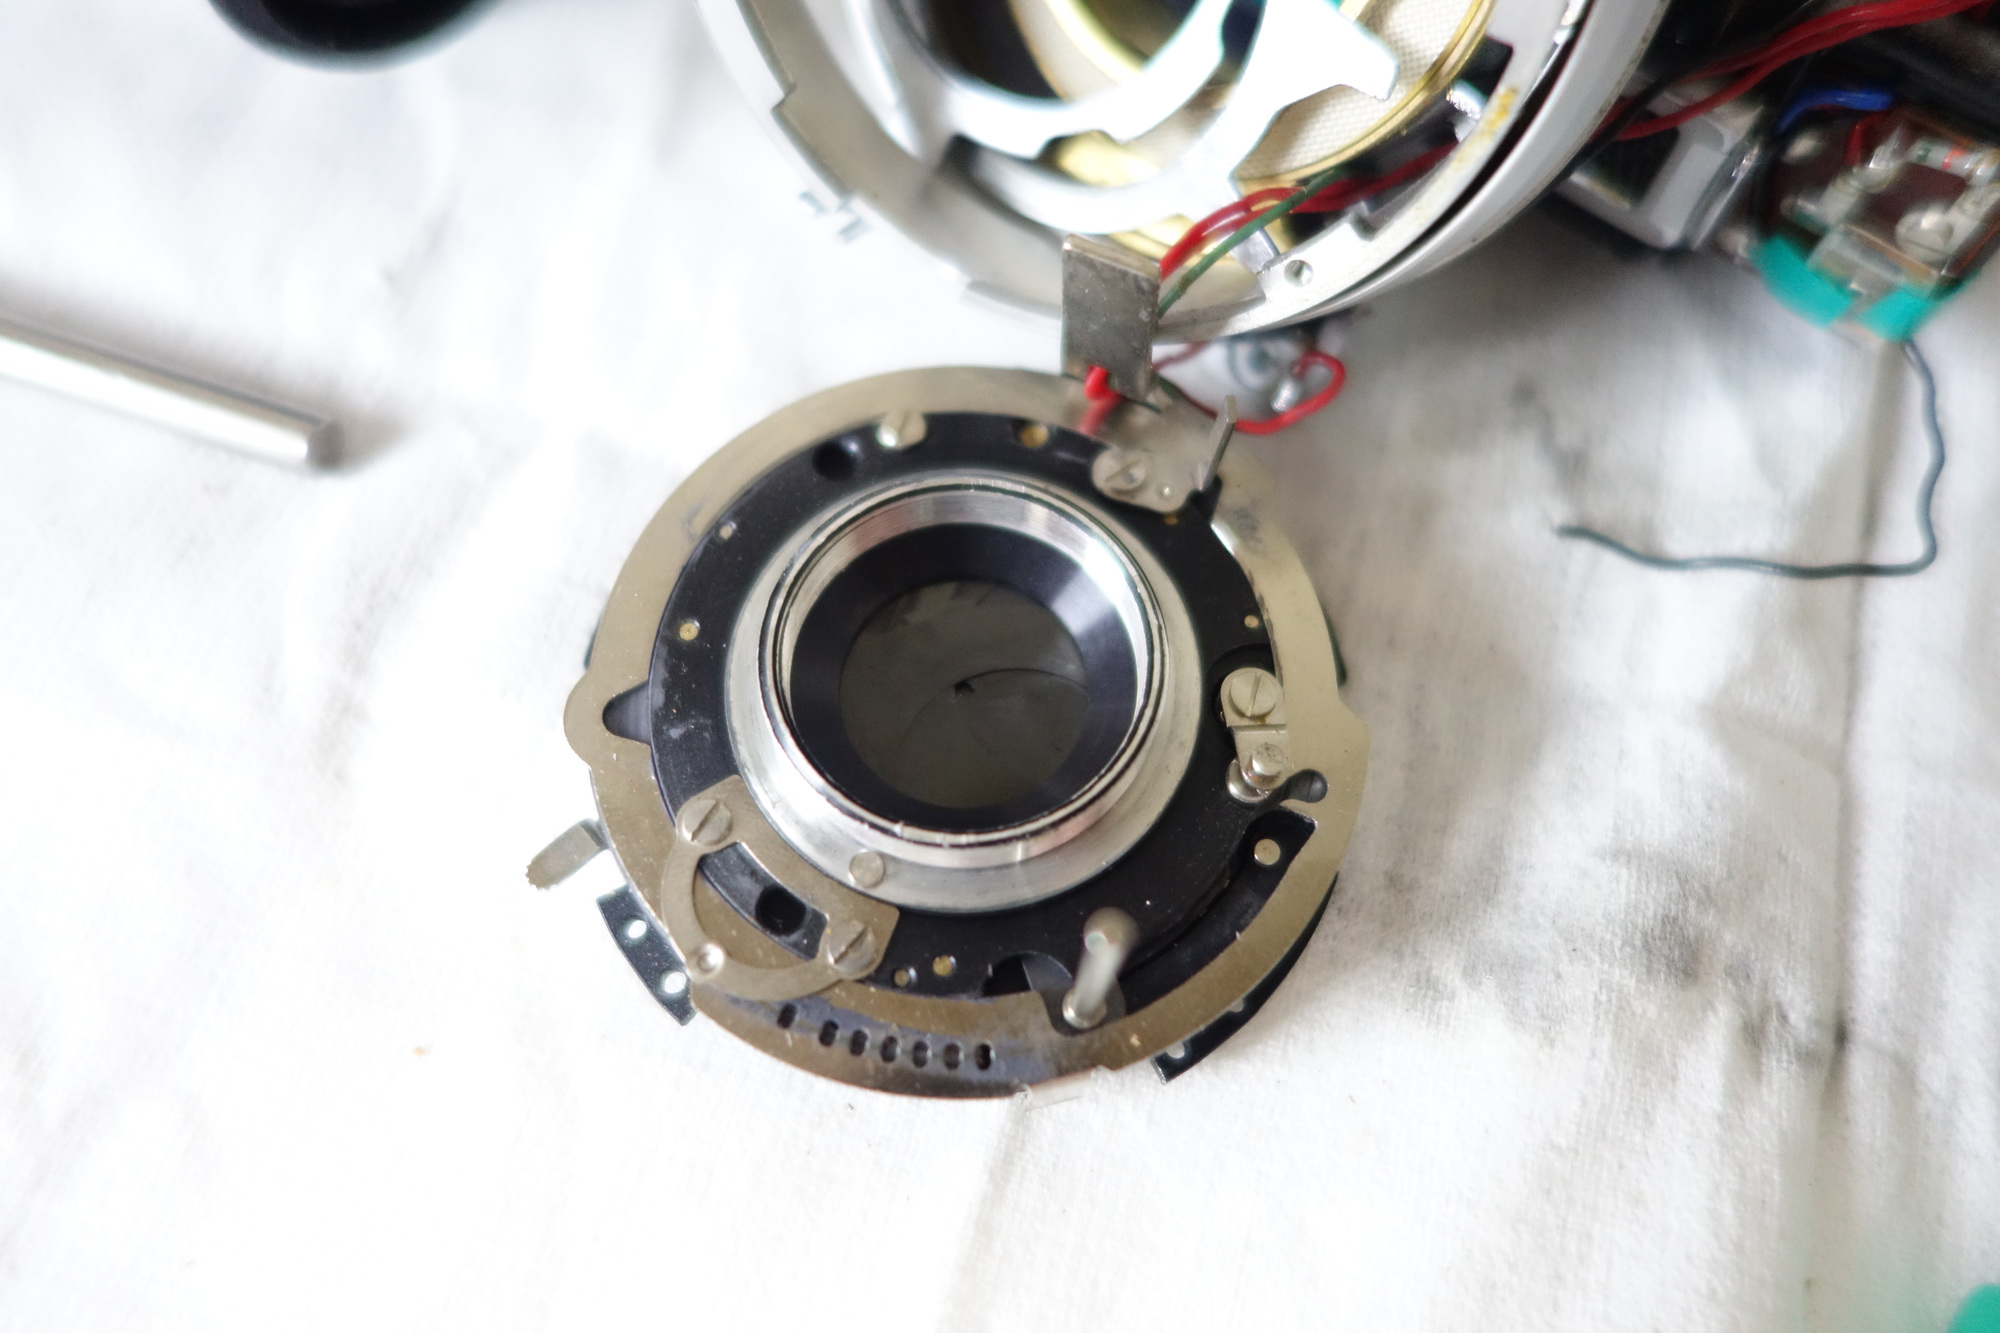
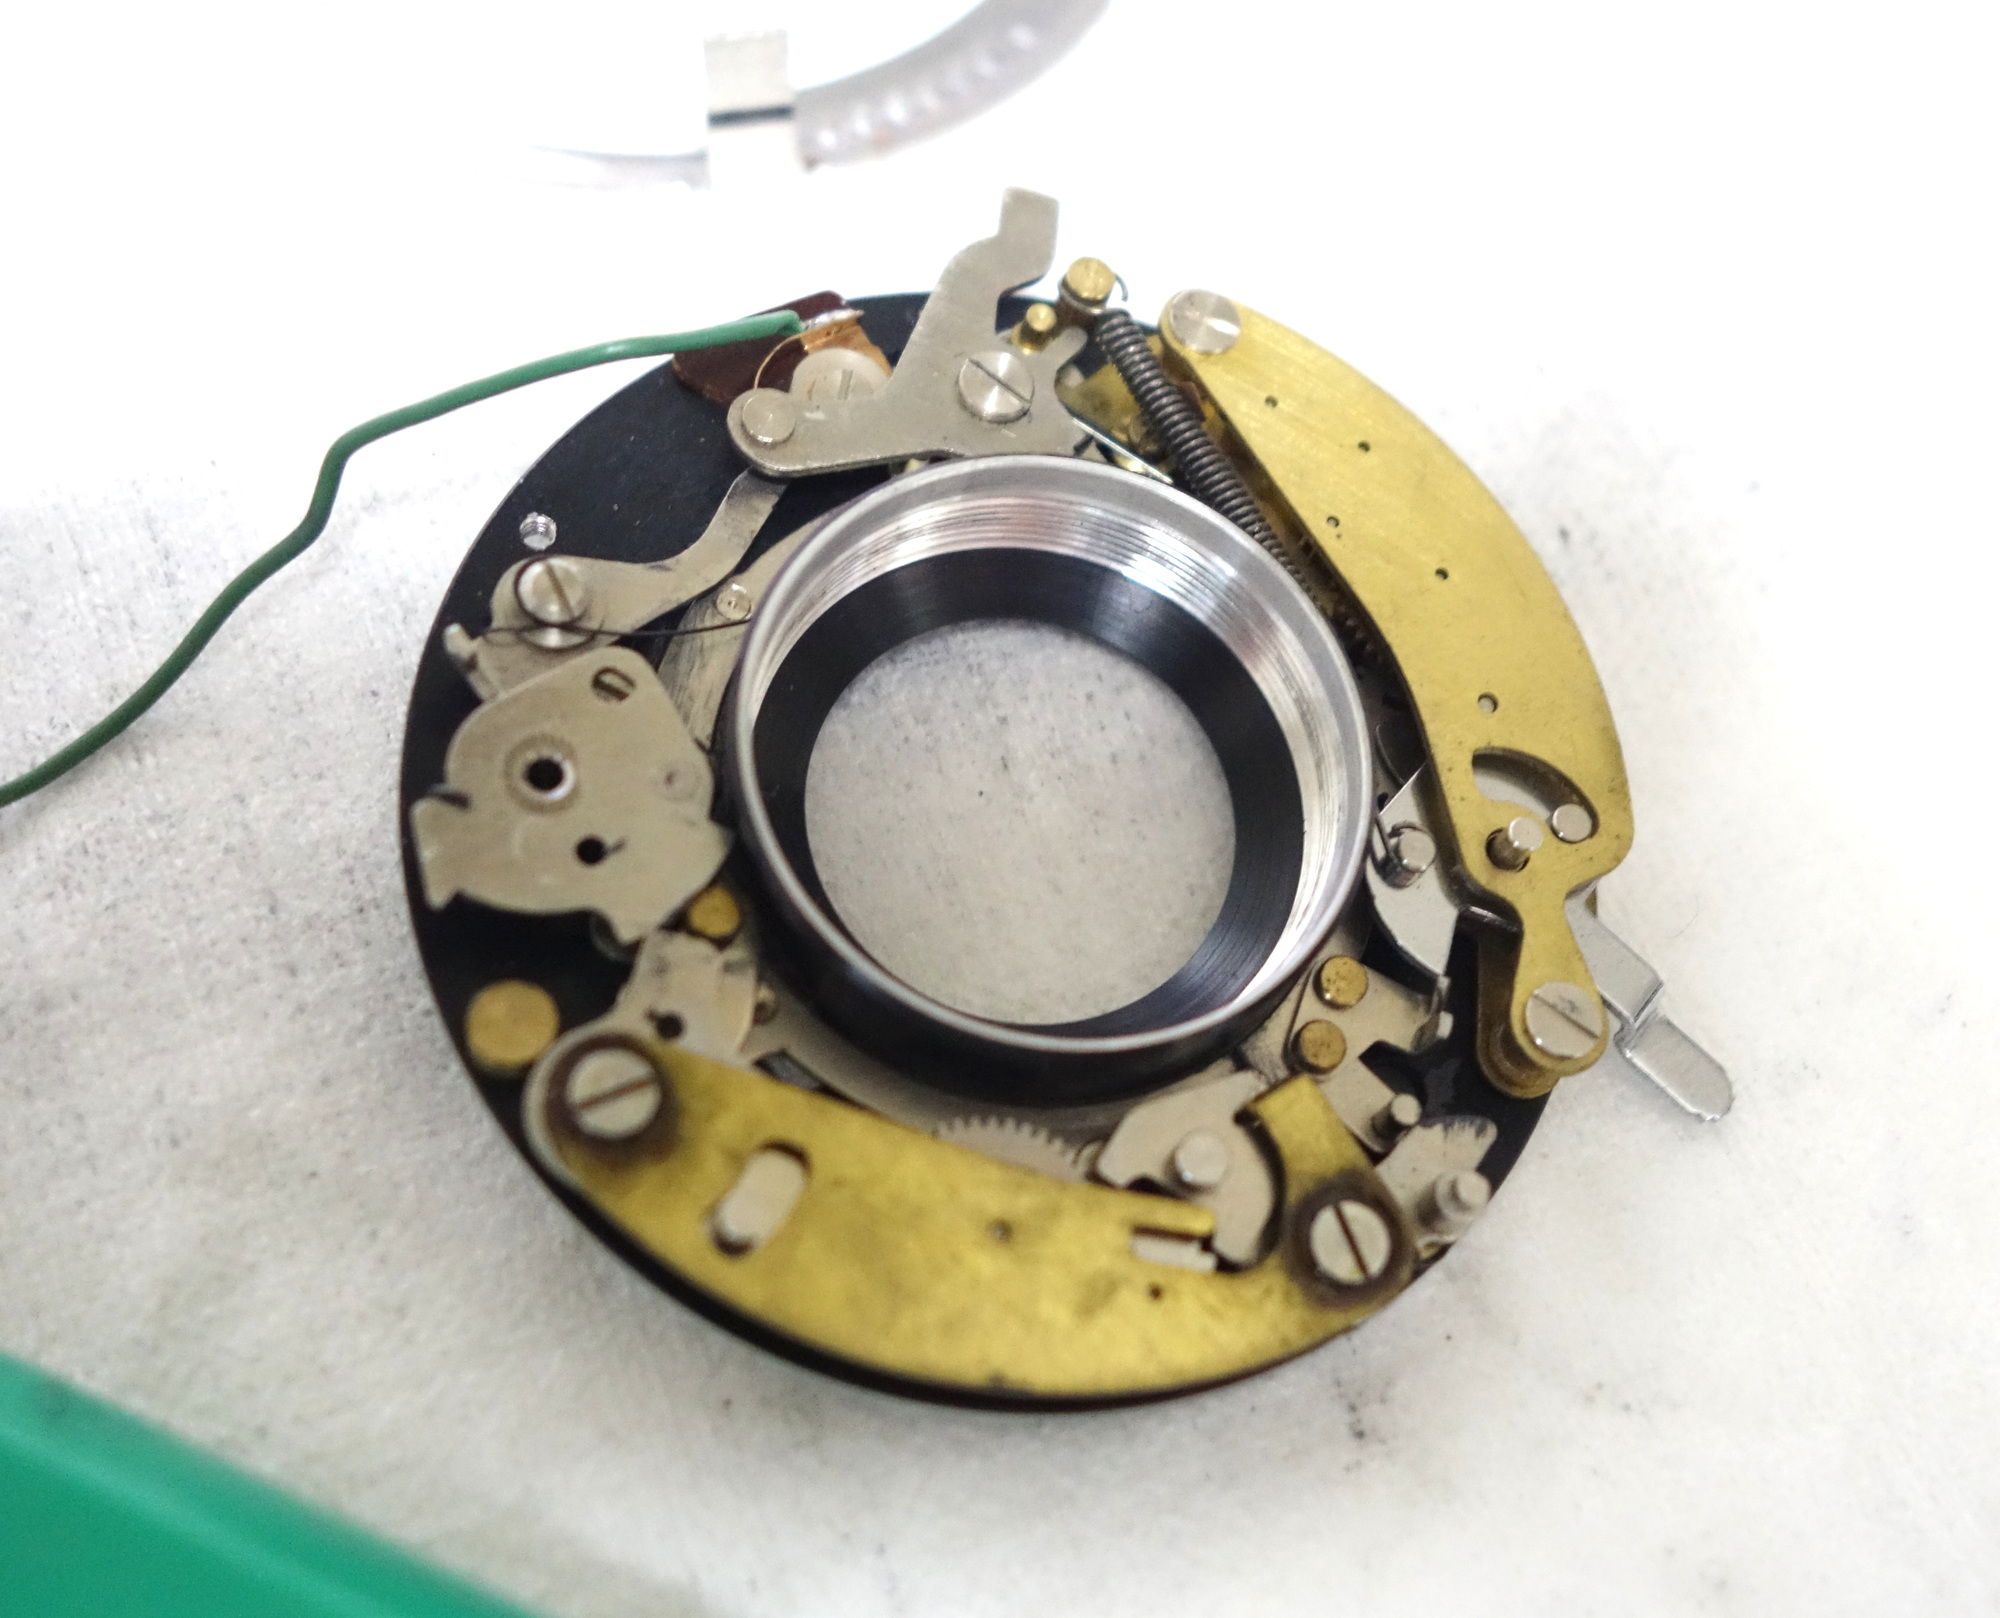
Going any further gets painful. Get the left handed bolt holding the shutter charging lever (right in the photo). Drop the shutter out. The blades will most likely fall all over the place.

The bucket holding the aperture should then slip off. Undo the screws and clean it up.
Reassembly is the opposite of disassembly but 10 times as hard.

First step is to reassemble the aperture bucket. Each aperture blade has 2 pins - one is the fixed pivot inside the bucket, the other needs to land inside a hole in the plate controlling the aperture. I found the easiest way to do this was to try to align them to full open - the aperture should form almost a perfect circle. Drop the aperture plate on top, and if you’re in the ballpark (each pin is at least visible through its hole) the pins can be pulled into position with a toothpick or something.
I think there’s a correct ordering for the blades but it probably doesn’t matter.

The shutter blades are a lot less annoying because the pins are all visible. I found it helpful to put something under the shutter so the blades wouldn’t try to fall into the hole in the middle. Also for some reason I had 6 blades to go over 5 pins so I installed them in order (the innermost and outermost blades are on the same pin).

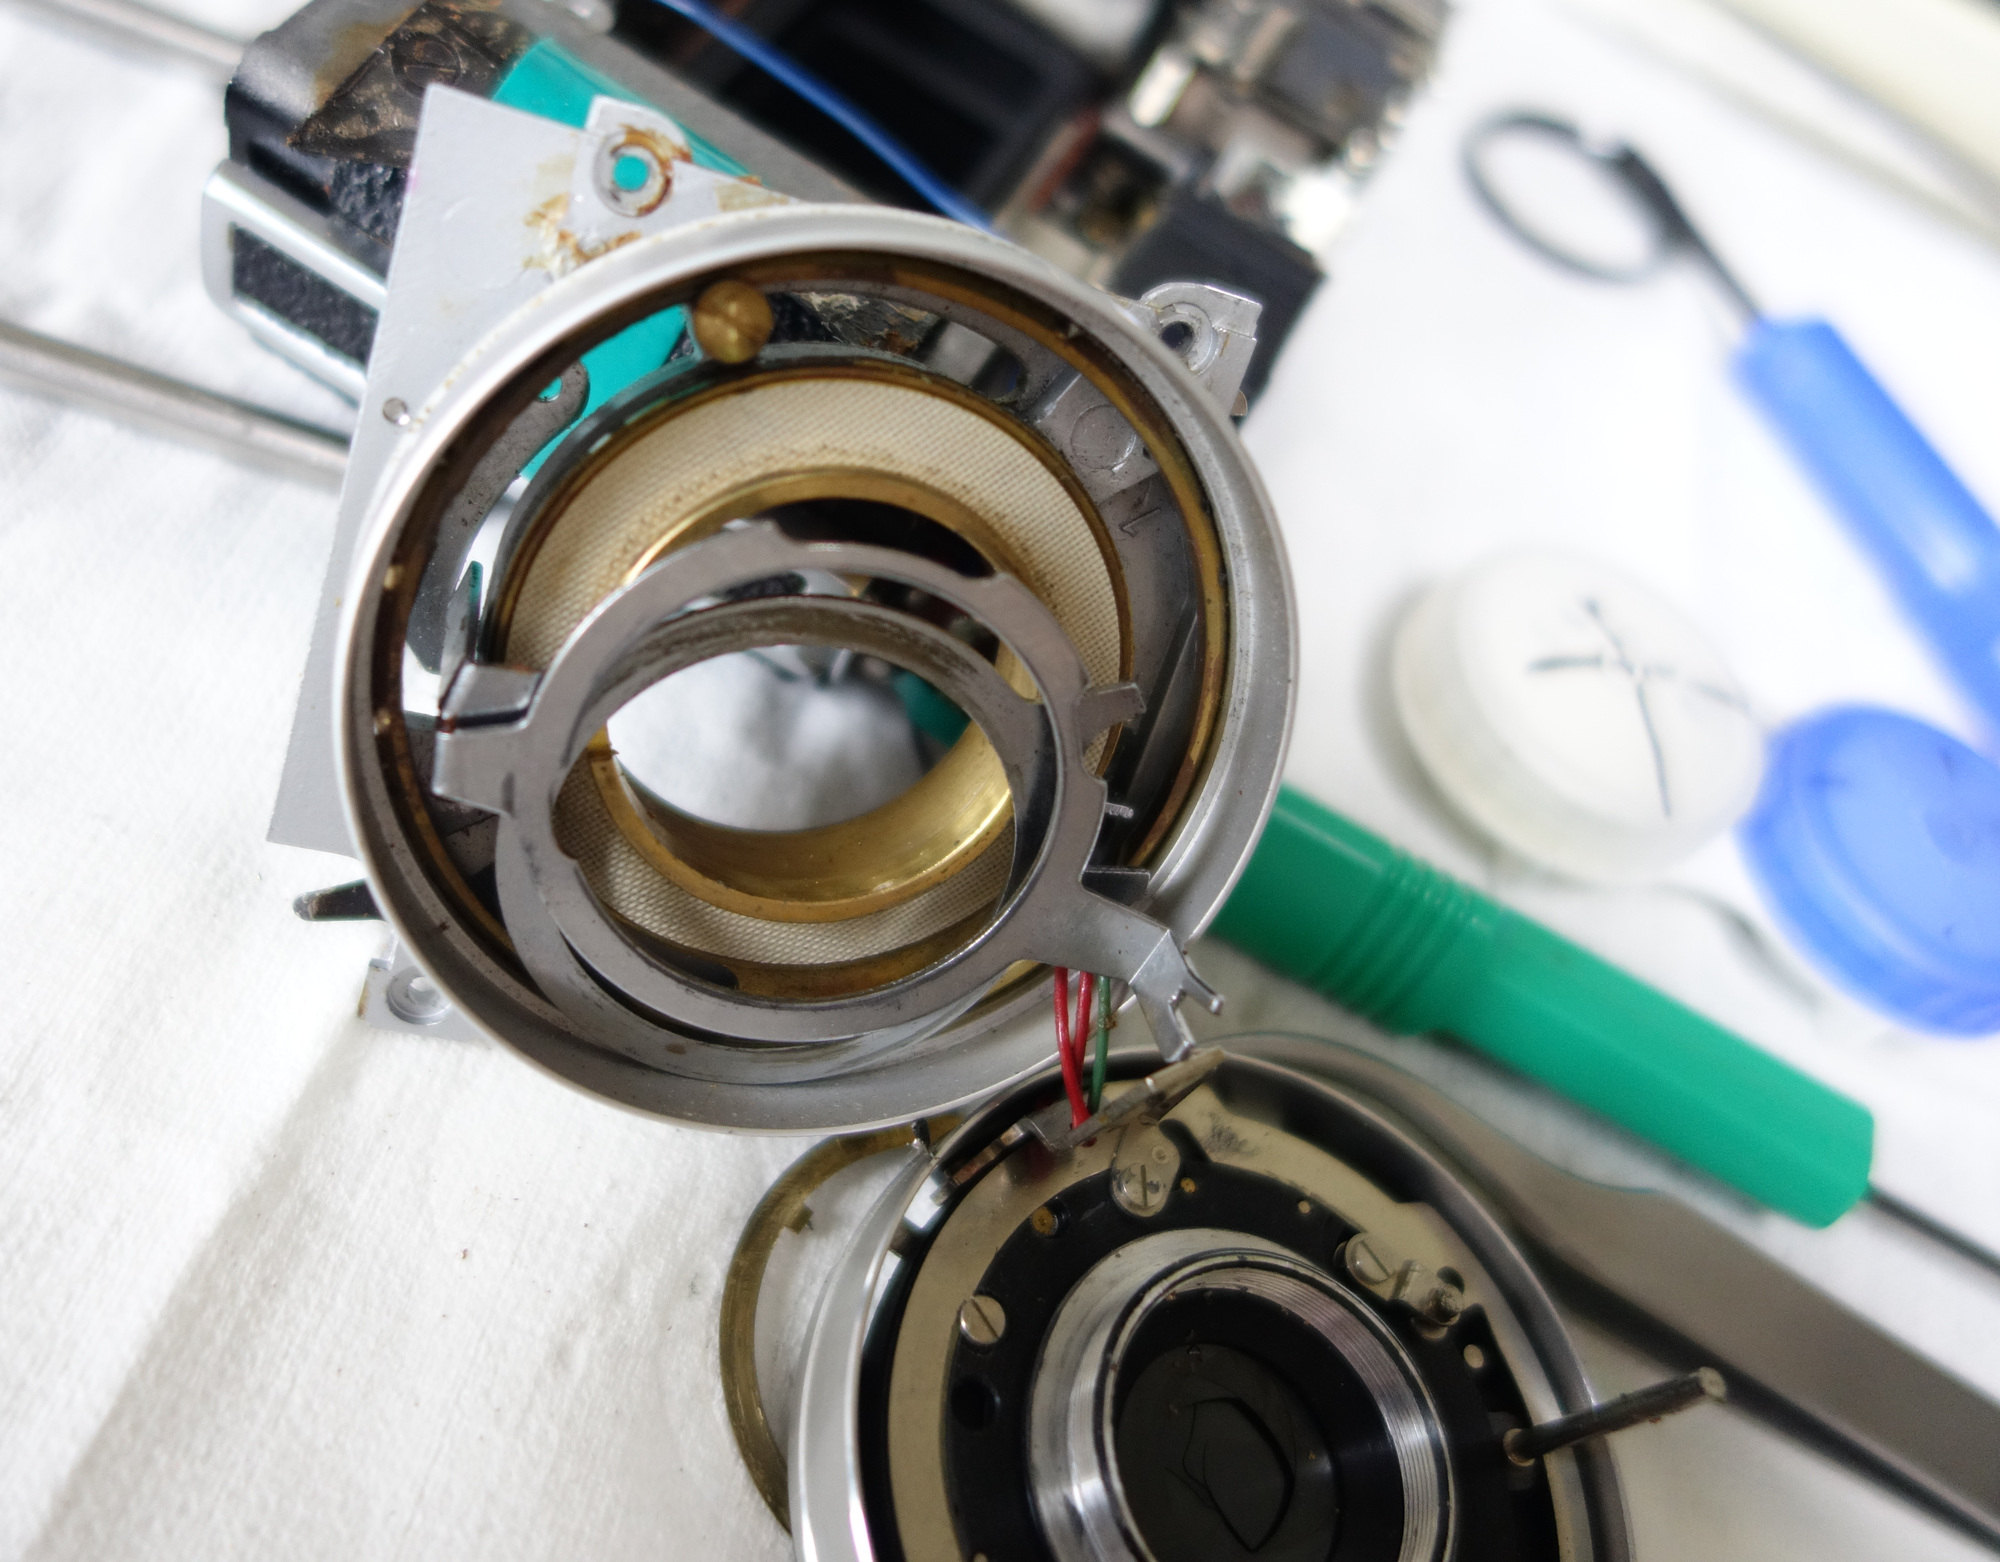
Getting these rings back in place is yet another puzzle. The brass ring is for lubrication so it goes between the two steel rings. The 2 pin shutter actuator ring should be on the shutter side, away from the film side. If the ordering or alignment is wrong either the shutter won’t fire or the aperture won’t be able to move through its entire range. Incidentally the timing of the shutter firing relative to the shutter buttor travel can be adjusted by bending the shutter fork.
Dropping the lens back in is also a trial. On the body side is a fork and a pin; the lens side also has a fork and pin. If the aperture pin on the lens is in the right position it might just slide back together. I found it easiest to pull out the pivot bolt holding the aperture fork, thread everything together and bolt it back in later. Make sure the aperture lockout pin drops into the right spot near the meter mechanism. It might need a slight tug upwards to fit in.
It’s at this point you get to find out if the control rings went back together right. If the shutter fires at both minimum and maximum apertures it’s probably fine. If it jams somewhere they’re probably in the wrong order. Time to get the lens apart again.
While doing the reassembly I had the focus slip a few times. It’s controlled by the brown block on the back of the lens assembly. Unbolting it, trying for better alignment and reattaching the lens seemed to get it right eventually. The focus adjustment could also be done the proper way using the rangefinder setting screws but I didn’t want to mess with the thread locker.
References
http://minophoto.web.fc2.com/minolook/04_mino/ale.html
http://www.cjs-classic-cameras.co.uk/minolta/minolta.html
https://www.kenko-tokina.co.jp/konicaminolta/history/minolta/1960/1968.html